
Simple Gemstone Wire Wrapped Ring
Published in Issue 22, April 2013
Written by Samantha from OKCreations

This is the finished ring made from turquoise nuggets and silver plated wire
To make the ring you will require a few basic ingredients:

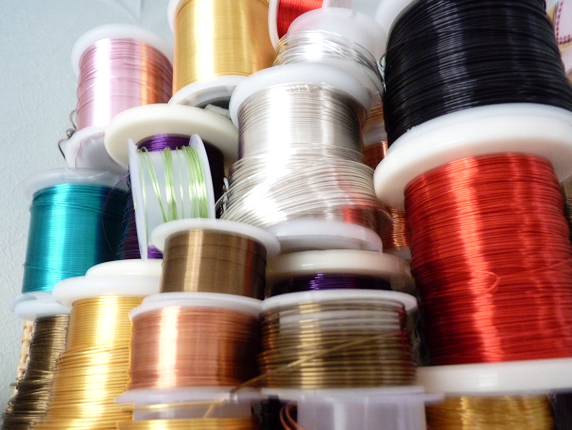
2. Some wire; 1mm for the ring base and 0.4mm to wrap with, any colour goes, experiment and have some fun!
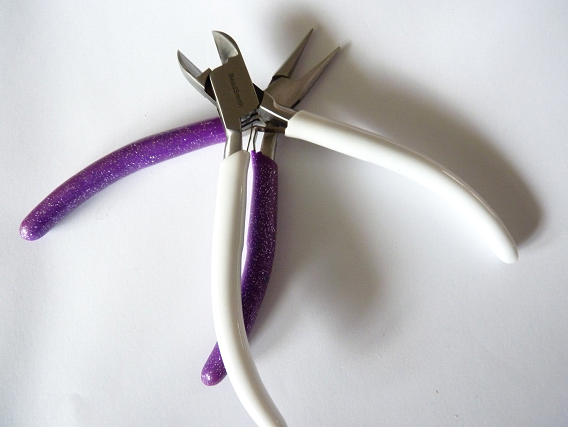
3. A pair of flat nose pliers and some side cutter pliers.

4. A ring mandrel or marker pen to shape the ring base around, something slightly larger than your finger as the finished ring will end up a size smaller after the wire wrapping.
Instructions
 Step 1. Begin by wrapping the 1mm wire around the mandrel, one size larger than anticipated; make the wire overlap by about 1cm.

Step 2. Start wrapping with the 0.4mm wire; using as long a length as comfortable start at the overlap leaving a 6cm tail and cover with the wire wraps, continue wrapping around the remainder of the ring until you meet the overlapped end of the 1mm wire again.
(Shown in antique bronze wire for detail.)

Step 3. Once the entire ring is tightly wrapped and looks like a tightly coiled spring you can start adding gemstones. Do not cut off the tails; use the tail that you used to wrap around and add the first stone, holding the stone on the top edge of the ring wrap twice around before adding the second stone.

Step 4. Add the second stone and wrap twice more, you will find the stones find their own place and will not necessarily sit where you expect. Just work along the ring wrapping twice between each stone until you reach the other edge of the overlap. If you run out of wire just wrap the original around to secure and cut short between the stones in a place where it will not show or scratch.

Step 5. You can add in stones where you feel more need adding by wrapping the wire round until you meet the point you want to add, you can also layer stones on top of each other to build height and shape. Add as many as you feel is right or use a few metallic beads to add contrast.

Step 6. Secure any wires by wrapping, cutting short and hiding between the stones, pop on the mandrel to reshape and size if necessary and your ring is finished!

No comments:
Post a Comment