Toby & Mummy Makes... Pineapple and Mango Upside-Down Cake
Published in Issue 22, April 2013
Written by Tracey from Wow Thank You
A blast from the past, I remember pineapple upside-down cake as a child.
My mum was a school cook, and I basically grew up on tray bake leftovers!
Pineapple upside-down cake was one of the better desserts I recall and I thought it would be fun to revisit this retro culinary delight with Toby, while Millie-Mae was at school.
It’s quick and simple to make, so perfect for the short attention span of a 4 year old.
You will need
For the topping:
50g softened butter
50g sugar
Pineapple rings in juice
Mango (optional)
Glace cherries
For the cake:
100g softened butter
100g sugar
100g self-raising flour
1tsp baking powder
1tsp vanilla extract
2 eggs
Greaseproof paper
21-25cm square or round tin or Pyrex dish
Step 1. Heat oven to 180C (160C if fan oven)/gas 4.
Step 2. For the topping, beat the butter and sugar together until creamy.
Step 3. Line your tin/dish with damp greaseproof paper, then spread the mixture over the base and a quarter of the way up the side.
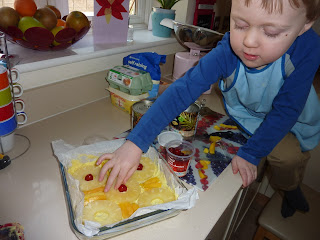
Arrange the pineapple rings and mango on top of the mixture, placing a cherry in the centre of each pineapple ring.
Step 4. To make the cake, put all the ingredients into a mixing bowl (butter, sugar, flour, baking powder, vanilla extract, eggs) along with 2 tablespoons of the juice from the tin of pineapple rings. Beat to a soft consistency.
Step 5. Spoon over the top of the pineapple and cherries, smoothing it out so it’s level.
Now it’s allowed to lick the spoon …
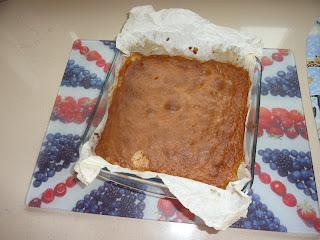
Step 6. Bake for 35 minutes, then leave to stand for 15-30 minutes.
Step 7. Turn out onto a plate, and after admiring, eat while still warm!


No comments:
Post a Comment